Testing Custom React Hooks With State Machines

Nick Christiansen
Junior Software EngineerHi! My name is Nick Christiansen and I am Software Engineer on a Planning & Scheduling team at Assignar. Recently, we started building new React table views to replace existing Angular 1.x tables. Finding the right pattern which will scale, while allowing iteration was both a key objective and a challenge. One of the solutions for this was a custom React hook to manage the table state. To be able to iterate with confidence, without regression, having tests around it was critical. This article will show a simplified example of how we implement tests on our own custom useTable React hook.
Prior learnings
After seeing David Khourshid talk at ReactConf 2020 in Sydney, Write fewer tests! Model-based testing in React, we have slowly been experimenting with and introducing model-based testing to some of our tests suites. We have also been using React Testing Library for a while now, so implementing this with xstate and @xstate/test, made it easy to introduce to our codebase.
Model-based testing is a technique for testing software where predictions are made against a model. The model is a description of the system's behaviour. Basically, model-based testing describes the expected responses from executed events, determined by the model. The events in this example would be search, sorting, or changing page.
To generate a model in this example, we are implementing a state machine, which is just one of several models available. For further reading and more context around some the ideas introduced here, its worth reading David Khourshid's article Model-Based Testing in React with State Machines.
For our custom hook and this example, we used React Hooks Testing Library, which comes from the same Testing Library project, and has a similar API as React Testing Library. This example has also uses Typescript, which helps give control state such orderBy inputs.
useTable custom hook
The basic state of a table includes pagination and filters, such as search, order column, order direction, and page. For this example, we will be testing the following:
State machine
A state machine is a behavioural model that consists of a finite number of states, which can deterministically transition to each other through events. With xstate, we can build a model that represents the different states, events, and transitions between states the table can be in. Below shows the representation of the table state as a finite state machine, which ultimately is how we expect our users to interact with a table. It is important to note here, this isn't a representation of every possible path to filter and paginate a table, but rather just the simplest paths to get to every possible transition between states.
From this visualisation, each node is a state and the arrows are events which signify state transitions. This was generated by xstate visualiser using the state machine detailed below. An interactive example can also be found here.
Using xstate we can write state machine:
Test model
From this model, we can generate test paths. At each state we add the test expectations and event executions. This is where we introduce React Hooks Testing Library.
To add tests for each state, we can use the following example, and repeat for each state:
Next, we can add events to trigger state transitions. This is implemented by mapping events to our hook actions, like so:
Executing the tests
Lastly, we need to generate the test paths and execute the tests. Since we have been direct in implementing our nodes, we generate our paths using getSimplestPaths(). This generates paths where no node is repeated. Each path is generated from the initial_state through each node via its associated transition events.
We can then loop over these paths to run the path tests at each state node. After running these test we can check the coverage of each state was tested.
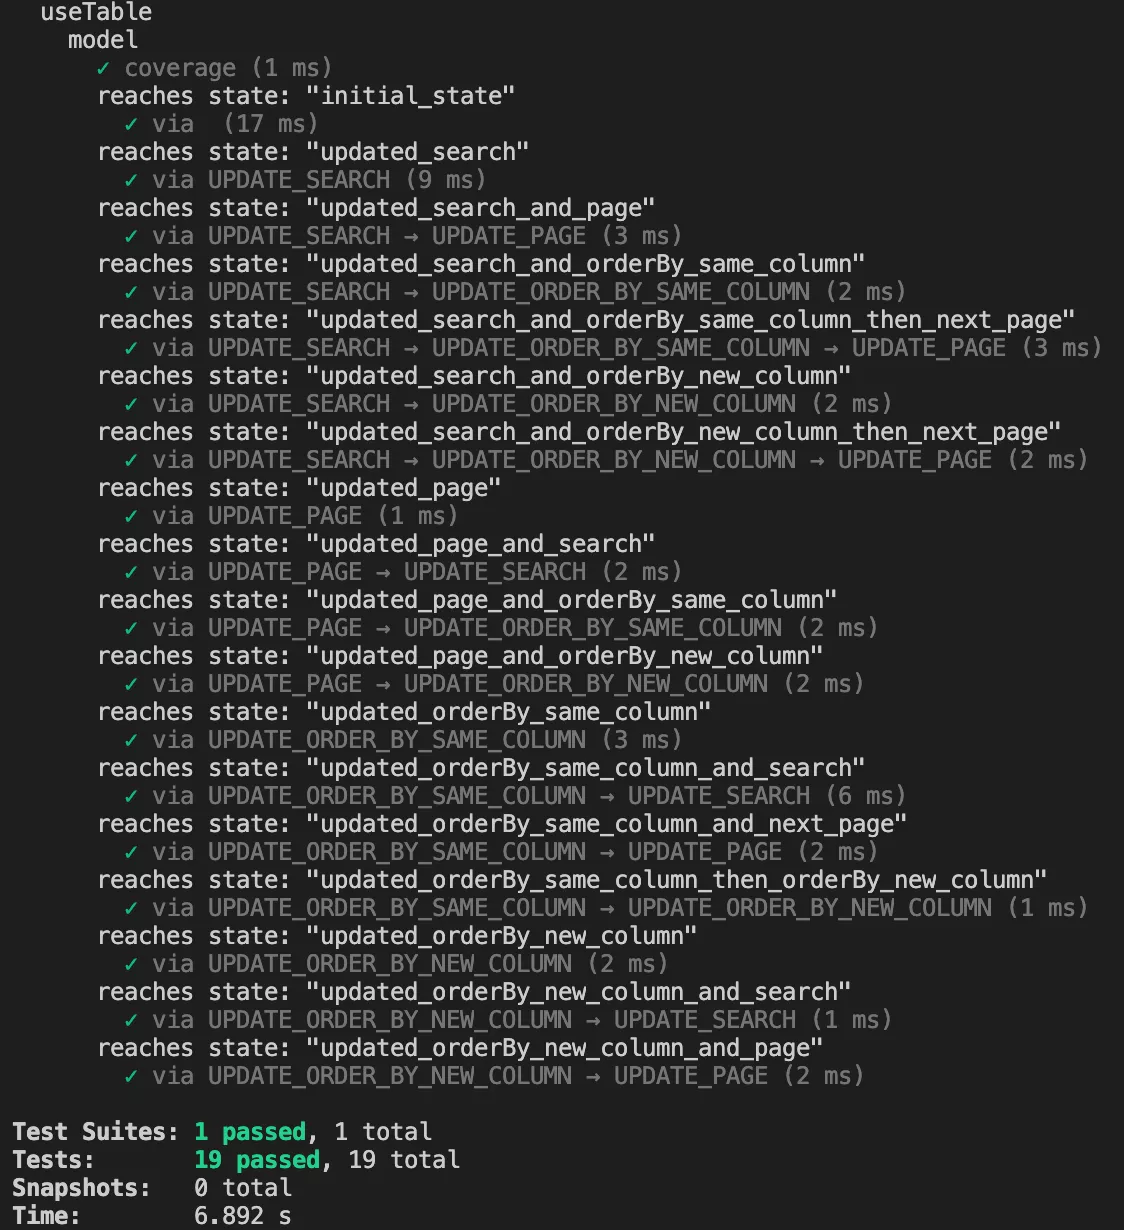
On a successful completion of our tests we get the following output showing states reach and the transitional events:
Challenges and Advantages
A challenge for building custom react hook is the more it is used, the harder it is to make changes without introducing regressions. Having clear and broad test coverage is critical to ensure confidence on its iteration. An advantage of model based testing for a custom React hook is you can clearly map the test cases to a user model.
Another challenge can come from overly complex models, which can create computationally expensive tests, but also tests which can become hard to read and work on. This especially important where the code is shared, and a developer unaware of the test model, has to build upon these models. This is most probably a sign of the hook being overly complex, but unavoidable, its best to add documentation and code comments to help with the learning curve.
A final advantage of model based testing is the abstraction of states and events. Compared to manually writing every test, this can significantly reduce the amount of code required for these tests. Furthermore, these tests are autogenerated, so you can easily add transitional states between existing states, or add new states and events easily.
For a working example, you can check out this codesandbox example here. Have fun.